Pointmap (3D)
Lifts each pixel to a 3D point in camera space. Think of it as "dense depth + intrinsics, but as one tensor".
Same input pipeline as segmentation and normals
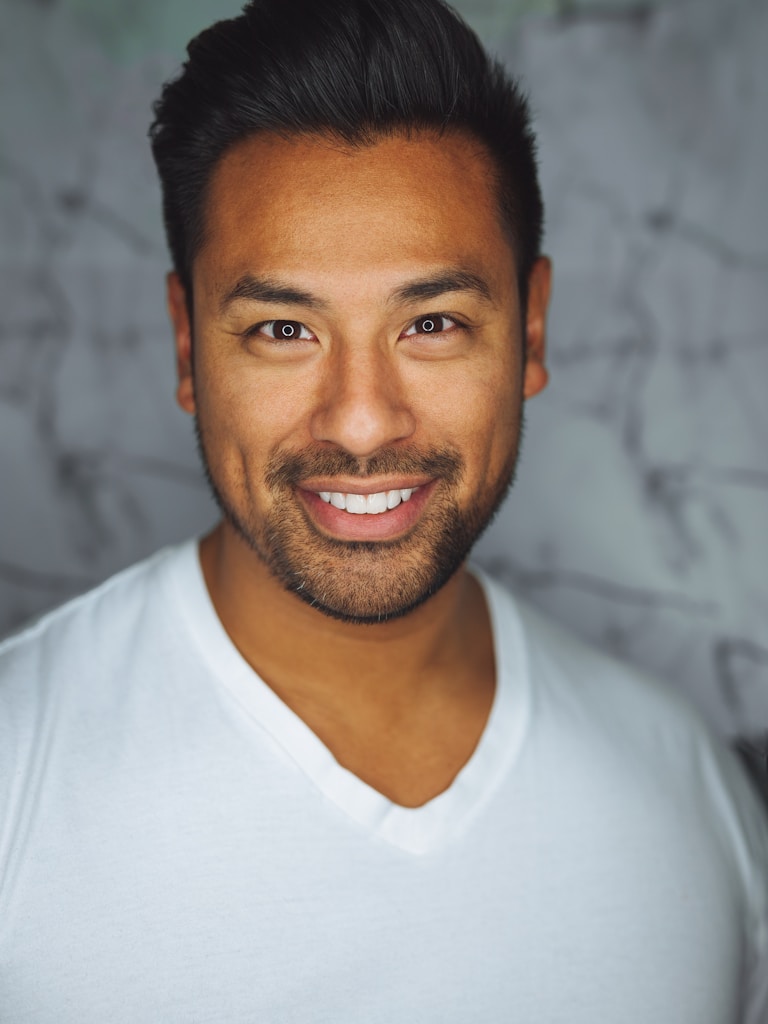
All dense tasks share the same interface. Here's the input image used across all guide examples:
Signature
sapiens_pointmap(
    input_path:  str,
    output_dir:  str,
    model_size:  str = "0.4b",
    device:      str = "cuda:0",
    save_pred:   bool = True,
) -> dict
Example
from strands_sapiens import sapiens_pointmap

sapiens_pointmap(
    input_path="person.jpg",
    output_dir="out/",
)
Output:
out/person.jpg- side-by-side input vs. turbo-colormap of the z-channelout/person_pointmap.npy-3×H×Wfloat array, channels = (X, Y, Z) in camera space
Use it as a real 3D cloud
Install the optional open3d extra:
Then:
import numpy as np
import open3d as o3d

pm = np.load("out/person_pointmap.npy")   # (3, H, W)
pts = pm.transpose(1, 2, 0).reshape(-1, 3)
pts = pts[~np.isnan(pts).any(axis=1)]

# Optional: color from the original image
import cv2
img = cv2.cvtColor(cv2.imread("person.jpg"), cv2.COLOR_BGR2RGB)
img = cv2.resize(img, pm.shape[1:][::-1])
colors = img.reshape(-1, 3) / 255.0

cloud = o3d.geometry.PointCloud()
cloud.points = o3d.utility.Vector3dVector(pts)
cloud.colors = o3d.utility.Vector3dVector(colors[:len(pts)])
o3d.visualization.draw_geometries([cloud])
Why this is powerful
- Metric human models from a single RGB image.
- AR placement: anchor effects on a specific body region using seg + pointmap jointly.
- Biometrics: extract real height / arm span / stride from 2D photos.
Related
